Toshiba e-Studio 556
Troubleshooting. Image 2. Background fogging
| Defective area | Step | Check items | Prescription |
|---|---|---|---|
| Adjustment | 1 | Perform the shading correction. | Perform 05-3218. If an error occurs, retry it. If the error still persists, clean the original glass. |
| Density reproduction | 2 | Check the reproduction of the image density. | Adjust the density. |
| Printer section | 3 | Check test print image (04-114). | Go to step 5 if there is any problem on image. |
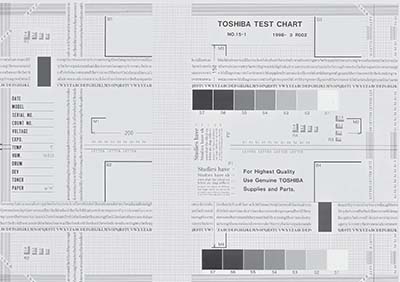
| Parameter adjustment value | 4 | Check the image processing parameter. | Check the range correction setting and the adjustment value of the background peak for range correction. (Ch.6.4.4, Ch.6.4.5) If they need to be adjusted, check the print image in the above circle mark to adjust the adjustment value of the background peak for range correction. |
| Scanner | 5 | Are the original glass (especially shading position), mirrors and lens dirty? | Clean them. |
| Developer material/Toner/ Photoconductive drum | 6 | Using the specified developer material, toner and photoconductive drum? | Use the specified developer material, toner and photoconductive drum. |
| 7 | Have the developer material and the photoconductive drum reached their PM life? | Replace the developer material and photoconductive drum. | |
| 8 | Is the storage environment of the toner cartridge 35°C or less without dew? | Use the toner cartridge stored in the environment within specification. | |
| Main charger output | 9 | Is the setting value proper? Is the main charger output normal? |
Replace the high-voltage transformer with a new one and print out a test chart. If any abnormal image appears, check the harness connection between the LGC board and the high-voltage transformer, power supply and stain on the main charger wire. |
| Developer unit | 10 | Is the contact between the drum and developer material normal? | Replace the high-voltage transformer with a new one and print out a test chart. If any abnormal image appears, check the harness connection between the LGC board and the high-voltage transformer, power supply and stain on the main charger wire. |
| Developer bias output | 11 | Is the setting value proper? Is the developer bias output normal? |
If the setting value is out of specification, adjust it. If the output is not normal, check the circuits. (Note 1) |
| Increasing toner density | 12 | Is the Auto-toner sensor connected correctly? | Check the connection of the connector of the Auto-toner sensor. |
| 13 | Is the toner density high? | Adjust the toner density. (Note 2: See the toner density correcting method.) | |
| Image quality sensor/ Surface potential sensor | 14 | Are the image quality sensor and the surface potential sensor normal? | Check the performance of the image quality sensor and the surface potential sensor. (See the troubleshooting related with the image quality control.) |
| Drum cleaning blade | 15 | Is the drum cleaned properly? | (See the troubleshooting for the poor cleaning.) |
Note:
1. Toner density correcting method
Change the setting value 'Toner density life correction setting (08-2816)' (6 is the default setting.)
0: Approx. 0.75% lower than the current value
1: Approx. 0.50% lower than the current value
2: Approx. 0.25% lower than the current value
3: The current value (Default setting)
4: Approx. 0.15% higher than the current value
5: Approx. 0.25% higher than the current value
6: Approx. 0.50% higher than the current value
7: Approx. 0.75% higher than the current value
Caution for correction
When increasing or decreasing the toner density too much, the image may become poor or the life of developer material, cleaner, photoconductive drum and fuser unit, etc. may shorten. Therefore it is not recommended to correct (to shift) the toner density basically. If it is shifted, make sure that the image may be improper in a few minutes after shifting.