Toshiba e-Studio 2051c
Service Mode. Service UI
Overview
The following self-diagnostic modes can be used with Service UI on the touch panel of the control panel.
- 04 TEST PRINT MODE
- 05 ADJUSTMENT MODE
- 08 SETTING MODE
- 6S PM SUPPORT MODE
- 9S LIST PRINT MODE
- FAX LIST PRINT MODE
- CHART PRINT MODE
Notes:
Not all codes of the self-diagnostic mode can be used with Service UI. Refer to "Appendix" for the codes available with Service UI.
Login procedure
1. In the normal mode
- Turn the power ON.
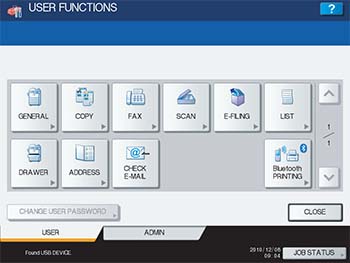
- Press the [USER FUNCTIONS] button.
- With the [USER FUNCTIONS] menu displayed, enter the Service Mode password provided during product training.
- Enter the user name and password on the SERVICE TECHNICIAN PASSWORD screen, then press [OK]. They are set by default as follows:
The SERVICE MODE screen is displayed.User Name Service Password None
2. In the security mode
If the security mode (the value of 08-8911 is "3") is set, log into Service UI following the steps below.
- Turn the power ON.
- Enter the user name and password on the USER AUTHENTICATION screen. The password needs to be changed to log in for the first time.
Notes: In case the password is forgotten, ask the administrator to reset the service password. In case both the service password and administrator password are forgotten, the passwords can be reset in the password reset mode. Note that the user data are deleted at that time. - Press the [USER FUNCTIONS] button.
- Enter the password for Service UI on the USER FUNCTIONS screen. The SERVICE MODE screen is displayed.